
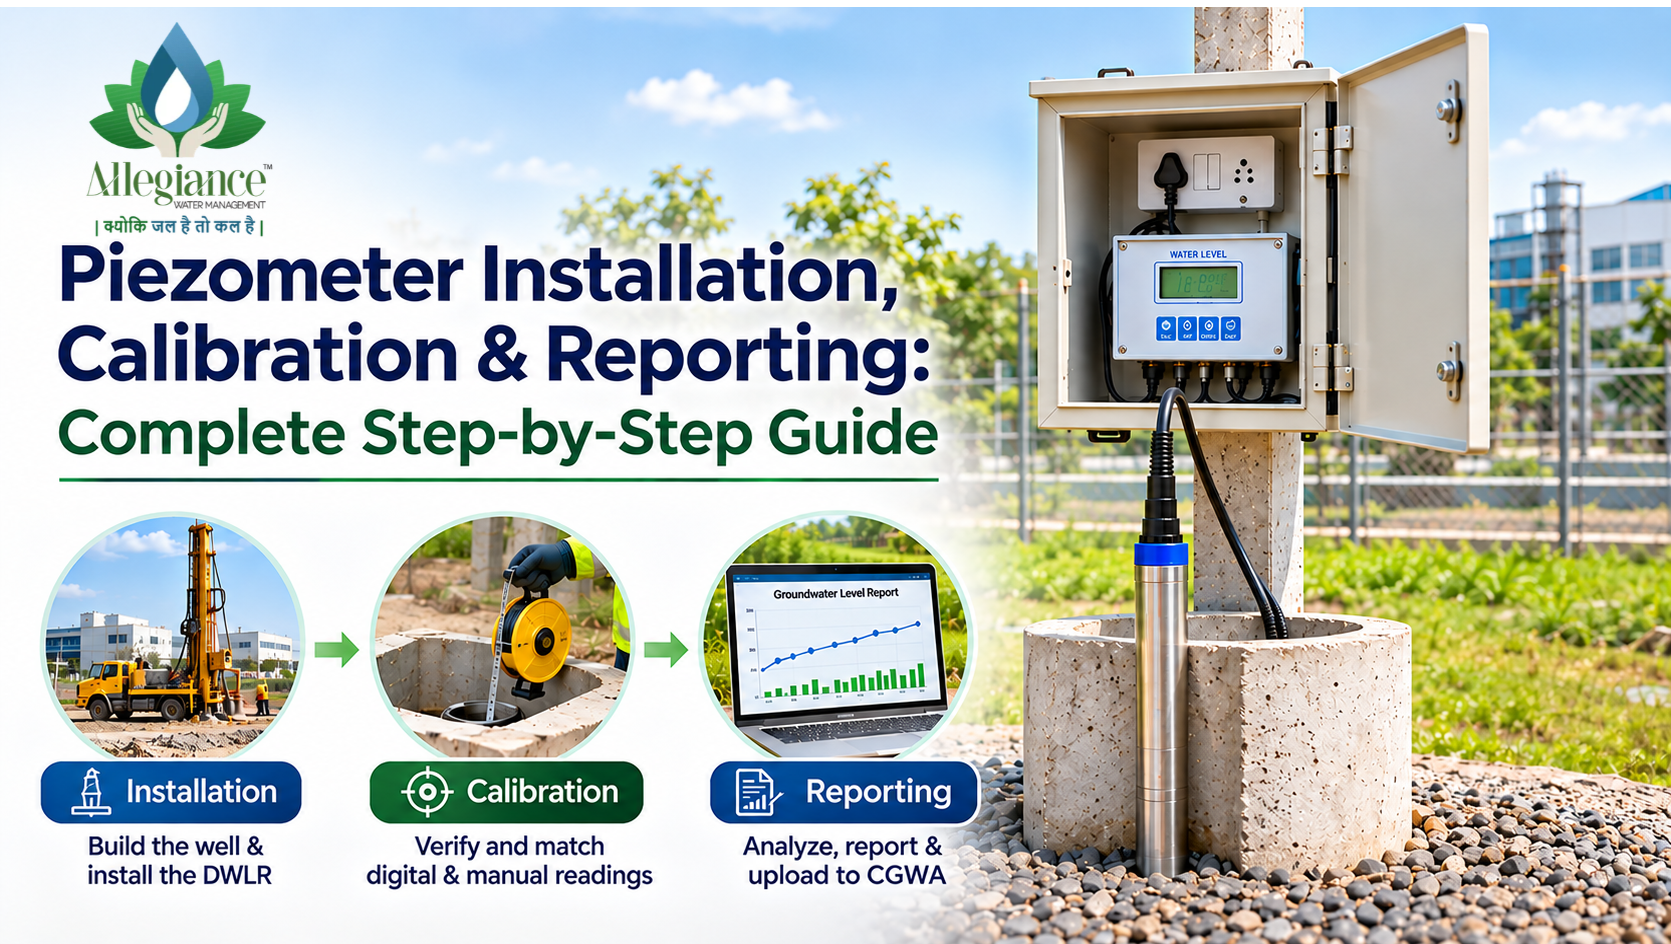
Complete Guide to Piezometer Installation, Calibration, and
Reporting
By Allegiance Water Management, Vadodara
Buying a
digital piezometer is the easy part. Getting reliable, audit-ready data out of
it depends on three things that happen after the box is opened: how the well is
built and the sensor installed, how carefully the readings are calibrated, and
how the data is reported.
Get these right
and your piezometer quietly does its job for years. Get them wrong and you end
up with readings that drift, gaps in your records and awkward questions at NOC
renewal. This guide walks through all three stages in plain language.
Part 1: Piezometer Installation
Before You Start: Planning the Location
The location
decides the quality of your data more than any instrument does. A good spot is:
•
Away from the influence of pumping borewells, so
readings show true groundwater levels, not pump cycles
•
As specified in your CGWA NOC, if the NOC names a
location or number of piezometers
•
Safe from vehicles, flooding and accidental damage
•
Easy to reach for maintenance, with a mobile signal if
you plan to use telemetry
•
Clear of underground cables, pipelines and septic tanks
Piezometer Well Construction
A purpose-built
observation well is the foundation of the whole system. Construction typically
involves:
1.
Drilling the borehole to the depth of the aquifer you
need to monitor, based on site geology or a geohydrological study.
2.
Installing casing pipe, with a slotted screen section
placed at the water-bearing zone.
3.
Packing gravel around the screen so water flows in
freely while fine sand stays out.
4.
Sealing the space around the casing above the screen,
so surface water can't leak down the outside of the pipe.
5.
Developing the well by flushing it until the water runs
clear and responds quickly to changes.
6.
Finishing with a raised concrete platform, a lockable
cap and a clearly marked reference point at the top of the casing.
That reference
point matters. Every water level you ever record is measured from it, so mark
it permanently and record its height above ground level.
Piezometer Installation Procedure for the
DWLR
1.
Take a manual reading first with a water level
indicator, measured from the reference point.
2.
Check the deepest water level the well is likely to
reach in summer.
3.
Lower the waterproof pressure sensor slowly, guiding
the cable so it does not rub on sharp edges.
4.
Set the sensor depth safely below the lowest expected
water level, but above any silt at the bottom of the well.
5.
Clamp the cable firmly at the well head and mark the
cable at the reference point so the depth can always be checked.
6.
Mount the recorder unit on a wall or in a protective
enclosure and connect the power supply.
7.
Set the recording interval, for example hourly, and
configure GSM telemetry and alerts if used.
8.
Lock the well cap and enclosure.
Sensor Depth Setting: Why It Matters
If the sensor
hangs too shallow, it can come out of the water in a dry summer and record
nothing. If it hangs too deep, it can sit in silt and give sluggish or wrong
readings. Note the exact sensor depth from the reference point on the day of
installation. You will need it for every calibration check afterwards.
Part 2: Piezometer Calibration
Calibration
simply means making sure the digital reading matches the true water level in
the well.
Initial DWLR Calibration
Right after
installation, compare the first digital reading with your manual reading taken
from the reference point. Enter the reference level and sensor depth into the
recorder so it reports water level in the form you need, such as depth below
ground level or depth below the reference point. The two readings should agree
closely before you leave the site.
Routine Calibration Checks
Every few
months, and before and after the monsoon, take a manual reading and compare it
with the digital value recorded at the same time. Note both readings, the date
and the difference.
|
What You Find |
What to Do |
|
Difference within a few centimetres and stable |
No action needed, keep the record |
|
Difference
slowly growing over time |
Re-check
cable mark and sensor depth, reset the reference level |
|
Sudden large difference |
Check whether the cable has slipped or the sensor is out
of water |
|
Readings
flat or erratic |
Inspect
sensor and cable, arrange a service check |
Follow the
manufacturer's manual for any sensor-level calibration or factory service. Keep
every calibration record, as it is the strongest proof that your data can be
trusted.
Part 3: Piezometer Data Reporting
Collecting and Checking the Data
With telemetry,
data reaches the cloud automatically. Without it, download readings regularly
using a memory card or USB drive and export them to Excel. Before reporting,
scan the data for gaps, flat lines and sudden jumps, and note the reason for
any you find, such as a power cut or maintenance visit.
CGWA Piezometer Data Upload
CGWA NOCs
commonly require piezometer water level data to be uploaded to the CGWA web
portal, along with flow meter data and compliance reports. Check your NOC for
the exact frequency and format, and keep a copy of everything you submit.
Groundwater Level Report Format
A clear, simple
report usually includes:
•
Site name, location and NOC reference
•
Piezometer ID, location, well depth, reference point
and sensor depth
•
Reporting period and recording interval
•
A table of water levels, with monthly minimum, maximum
and average
•
A graph of water level over time, ideally alongside
rainfall
•
Pre-monsoon and post-monsoon levels and the seasonal
change
•
Calibration checks carried out, with manual and digital
readings
•
Notes on data gaps, maintenance and any unusual events
Common Mistakes to Avoid
•
Installing the sensor in a pumping borewell instead of
a dedicated observation well
•
Not marking a permanent reference point at the top of
the casing
•
Forgetting to record the exact sensor depth on
installation day
•
Skipping manual cross-checks, so drift goes unnoticed
for months
•
Letting the SIM card expire, which silently stops
telemetry
•
Reporting data without explaining gaps or unusual
readings
Why Choose Allegiance as Your Piezometer
Installation Company in Gujarat?
•
Supply and installation of digital water level
recorders with up to 400 m range, plus or minus 0.5% full scale accuracy, 32 GB
storage and cloud access.
•
GSM telemetry units and manual water level indicators
for cross-checks.
•
One team for groundwater monitoring, CGWA compliant
flow meters, geohydrological surveys and CGWA NOC support.
•
More than 1,000 projects since 2012, for clients
including L&T, NTPC, Polycab and Torrent Power.
•
Service across Vadodara, Ahmedabad, Bharuch, Halol,
Surat, Valsad, Vapi, Daman, Diu, Dadra and Nagar Haveli and Indore.
Get Your Piezometer Set Up Right from Day
One
Planning a new piezometer or struggling with unreliable data from an
existing one? Share your site details and NOC conditions with us, and we'll
help with installation, calibration and reporting.
Allegiance
Water Management
A unit of Allegiance Enterprises
Phone: +91 9574198769
Email: info.allegianceindia@gmail.com
Website: www.allegianceindia.in
Address: 28 & 29, Aura Square, 3rd Floor, Panchvati
Circle, Gorwa Refinery Road, Panchvati, Vadodara, Gujarat 390016